
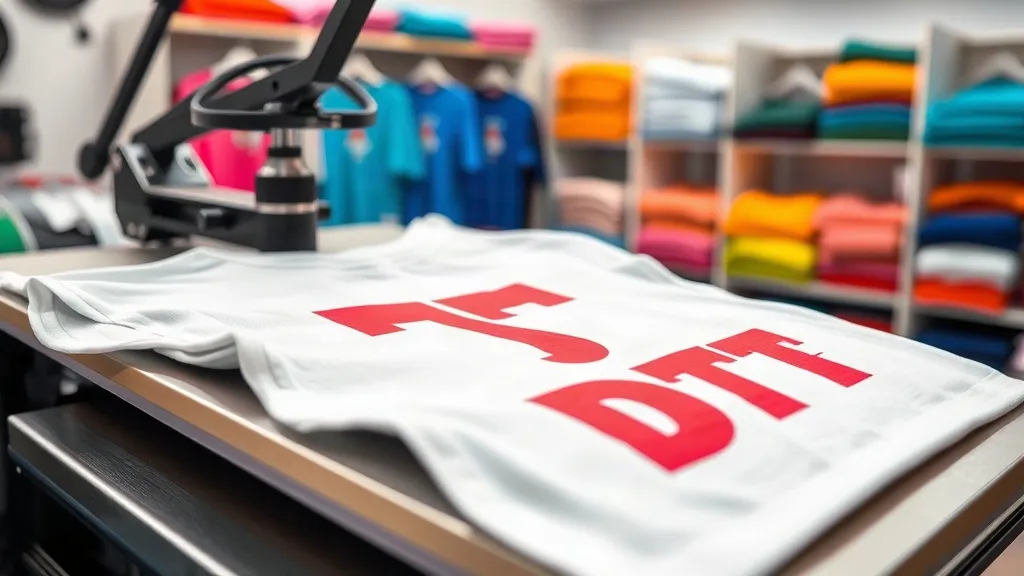
You've probably heard the buzz around dtf transfers and how they're changing the game for custom apparel. But here's the thing: even the best transfer can fail if you don't apply it correctly. I've seen countless shirts ruined by uneven pressure, wrong temperature, or impatience during peeling. In this guide, I'll walk you through the entire process of applying dtf transfers like a pro, sharing the exact steps and settings I use in my own shop. Whether you're printing your first shirt or looking to refine your technique, these practical tips will help you achieve flawless results every time.
What Makes DTF Transfers Different?
DTF transfers are printed on a special film using water-based inks, then coated with a hot-melt adhesive powder. This powder is what allows the design to bond to the fabric when heat and pressure are applied. Unlike vinyl or screen printing, dtf transfers can adhere to almost any fabric, including cotton, polyester, blends, and even nylon. They also capture fine details and gradients beautifully, making them ideal for complex artwork. But the magic happens during application. If you don't follow the right steps, you'll end up with peeling edges, dull colors, or a stiff feel. So let's get into the details.
Preparing Your Workspace and Materials
Before you even think about heat, make sure you have everything ready. A clean, flat surface is crucial. I always use a heat press with a Teflon sheet or a protective cover to keep the platen clean. You'll also need:
- Your dtf transfers (store them in a cool, dry place until use)
- A heat press (or a home iron, but a press gives consistent results)
- Heat-resistant tape (optional, for holding the transfer in place)
- A lint roller or lint-free cloth
- A garment (pre-washed if possible to minimize shrinkage)
Pre-washing the garment is a step many skip, but it's important. Cotton can shrink up to 5% after the first wash, and if you apply the transfer before that, the design may crack when the shirt shrinks. So, wash and dry the shirt without fabric softener before decorating.
Step-by-Step Application Process
Now, let's walk through the application. I'll assume you're using a heat press, as it's the most reliable method. If you're using an iron, you'll need to adjust pressure and timing, but the principles are the same.
1. Pre-Press the Garment
Set your heat press to 300°F (150°C). Place the garment on the platen and press for 5-10 seconds to remove moisture and wrinkles. This step is often overlooked, but it's critical: any moisture can turn to steam and prevent proper adhesion. I can't tell you how many times I've seen people skip this and end up with a transfer that peels after a few washes.
2. Position the Transfer
Place the dtf transfer on the garment with the printed side facing up. The design should be facing you, and the adhesive side is down. If you're using a transfer with a carrier film, make sure the film is on top. Use heat-resistant tape to hold it in place if needed. I usually skip the tape for small designs, but for larger ones, it prevents shifting.
3. Apply Heat and Pressure
Cover the transfer with a Teflon sheet or a protective paper. Press with medium to heavy pressure for 10-15 seconds. The exact time depends on the transfer manufacturer's recommendations, so always check their guidelines. But as a rule of thumb, 12 seconds at 300°F with firm pressure works for most dtf transfers. If you're using an iron, set it to the highest temperature (no steam) and press firmly for 20-30 seconds, moving the iron in circular motions.
4. Peel the Carrier Film
Here's where patience pays off. There are two types of dtf transfers: hot peel and cold peel. Most modern transfers are cold peel, meaning you must wait until the transfer is completely cool before peeling. I know it's tempting to peel right away, but if you do, the design can stretch or tear. Wait at least 30 seconds to a minute, then peel the film slowly and evenly. If you're using a hot peel transfer, peel immediately after pressing. Always confirm with your supplier which type you have.
5. Post-Press for Durability
After peeling, cover the design with a Teflon sheet or parchment paper and press again for 5-10 seconds. This second press ensures the adhesive fully bonds with the fabric, improving wash durability. I've found that this step can add weeks, if not months, to the life of the print.
Common Mistakes and How to Avoid Them
Even experienced printers run into issues. Here are the most common pitfalls and how to fix them:
- Transfer peeling after washing: Usually caused by insufficient pressure, too low temperature, or pressing over moisture. Always pre-press the garment and use firm pressure.
- Dull or faded colors: Over-pressing can scorch the ink. Stick to the recommended temperature and time. Also, ensure the transfer is not expired.
- Design cracking: This often happens if the garment stretches during application or if the transfer is applied to a fabric with a rough texture. Use a press pillow for stretchy fabrics.
- Adhesive residue on the carrier film: If you see adhesive left on the film after peeling, it means the transfer didn't fully adhere. Increase pressure or time slightly.
I remember my first time using dtf transfers: I was so excited that I peeled the film immediately, and half the design stuck to the film. That mistake taught me the value of patience. Now, I always set a timer and walk away for a minute.
Choosing the Right Fabric and Transfer
Not all fabrics are created equal. DTF transfers work best on fabrics with a smooth surface. Cotton and polyester are ideal, but you can also use them on blends, linen, and even leather. However, fabrics with a heavy texture (like ribbed knits or terry cloth) may not allow the adhesive to penetrate deeply, leading to poor adhesion. For these, consider using a higher pressure and slightly longer press time. Also, make sure the fabric is compatible with the transfer's adhesive. Most suppliers provide a compatibility chart, so check that before you buy.
SSS
How do I know if my DTF transfer is hot peel or cold peel?
Check the packaging or the supplier's website. Most transfers are labeled as hot peel or cold peel. If you're unsure, test a small transfer on a scrap fabric. Press it, then try peeling a corner while hot. If it peels easily without stretching the design, it's likely hot peel. If it resists, wait for it to cool.
Can I use a home iron for DTF transfers?
Yes, but it's less reliable. Use the highest setting (no steam), apply firm pressure, and move the iron in circular motions for 20-30 seconds. For best results, place a piece of parchment paper over the transfer and press with both hands. A heat press is still recommended for consistent results.
How long should I wait before washing a shirt with a DTF transfer?
Wait at least 24 hours after application before washing. This allows the adhesive to fully cure. Wash inside out in cold water and tumble dry low. Avoid fabric softener and bleach to prolong the life of the print.
What temperature should I set my heat press to for DTF transfers?
Most dtf transfers require 300°F (150°C). However, always check the manufacturer's instructions, as some may require slightly different temperatures. Using a infrared thermometer to verify your press temperature is a good practice.
Why is my DTF transfer not sticking to the fabric?
Possible reasons: insufficient pressure, wrong temperature, moisture in the fabric, or the transfer is expired. Ensure you pre-press the garment, use firm pressure, and check the expiry date on the transfer.